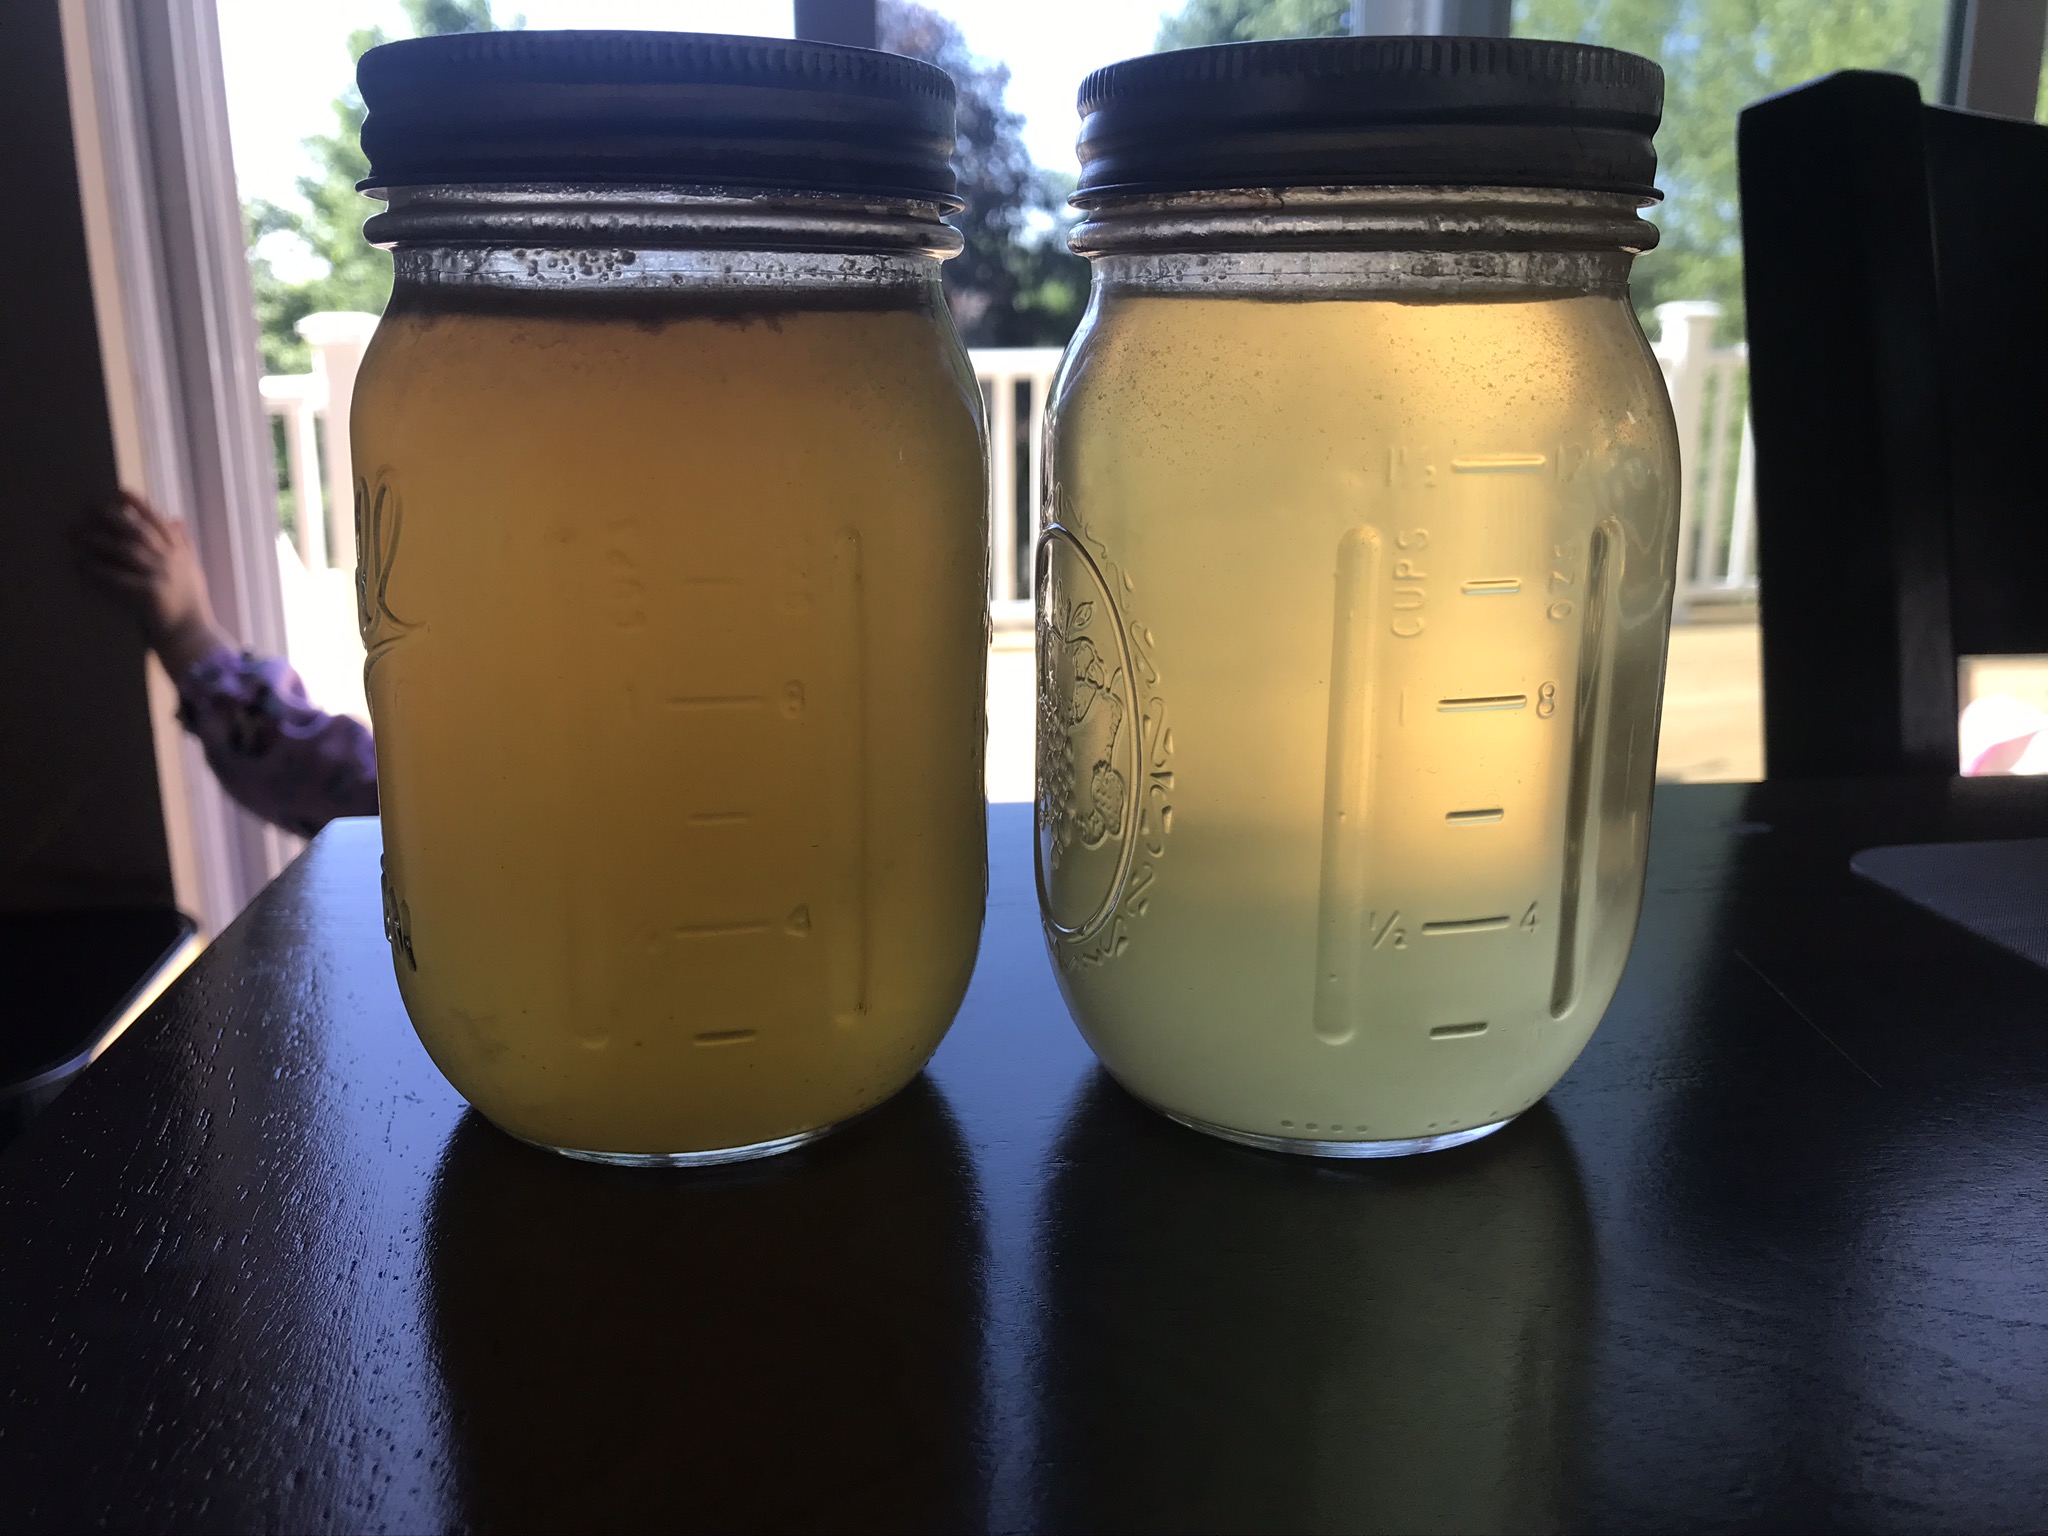
I promised you all a while ago that I would share this! And then summer happened 🤣.
I’ve had many people comment or ask about how (or why) I make all of my homemade broth. This could lead into SO many other discussions, so I’ll try to keep it short and simple. If you want to hear about all the extras though…..do yourselves a favor and google “benefits of bone broth” or “additives in store bought broth”. Trust me, you’ll thank me!!
But honestly, the biggest reason I started doing this was to save money!! I use broth in SO many ways. It’s how I steam my veggies, pressure cook my meats, my liquids for rice, my soup bases call for 9 pint jars!!! I mean it’s an insane amount! So when I realized that all I needed was to stop throwing away meat scraps and vegetable scraps….I never bought broth again! And I never looked back!
So, saving scraps doesn’t mean mess or special steps. It literally just means: 1) when you cut trinity veggies (carrots, onion, celery)…..and sometimes others that will compliment those flavors….you don’t throw stems, peels or leaves into the trash. Toss them in a freezer safe container or bag. 2) Same with bones and meat scraps. Don’t toss your chicken bones. I use a whole roasted chicken for my noodle soup, so I have a whole chicken carcass at least once a month. I also buy bone in thighs, for cost savings…..but I debone them prior to baking or grilling. Save those bones too. Chicken wing bones. Ham bones. ALL THE BONES!!! Same rule applies…..toss them into a freezer safe container or bag. Toss them right in with the veggie scraps if you like!!!!
The only things you’ll need on hand for this process are your scraps, water, vinegar, a strainer, and a means to cook and store it 🙂
I make two batches with one bag of scraps. The first batch is my “stock”, and then I drain all scraps and reuse the same ones for another batch that’s “bone broth”. You’ll see in the instructions why there is a difference 😉
- Begin with all of your scraps. They can be frozen, or thawed. This will just affect your cook time. I use my 8qt Instant Pot to pressure cook mine…so it can go right in frozen. After scraps are in the pot, I fill to within one inch of the top of the pot. Now this is where I insert a disclaimer **manufacturers instructions state to not fill the pot past the MAX line. Please follow manufacturer instructions to avoid damage and spillage** (now, having said that….whenever I’ve filled mine past the line, if it’s not a “creamy” base…I’ve never had any problems)


- I use EVERY bit of my scraps here. As you can see in the 3rd image, I even leave the peel right on the onions. This is going to be strained, so you won’t get any of this in your finished broth.
2. The first “stock” batch I pressure cook for 30 minutes. You just want this cooked enough for the flavors and fats to boil into your water. Once cook time is finished, “quick release” your pressure. Once pressure is released, pour all contents through a strainer or straining cloth, into a large stock pot.
**If you’re going to can this in jars….this is when you’ll pour your stock into jars, leaving an inch of headspace, and pressure can for 20 minutes at 10lbs of pressure.
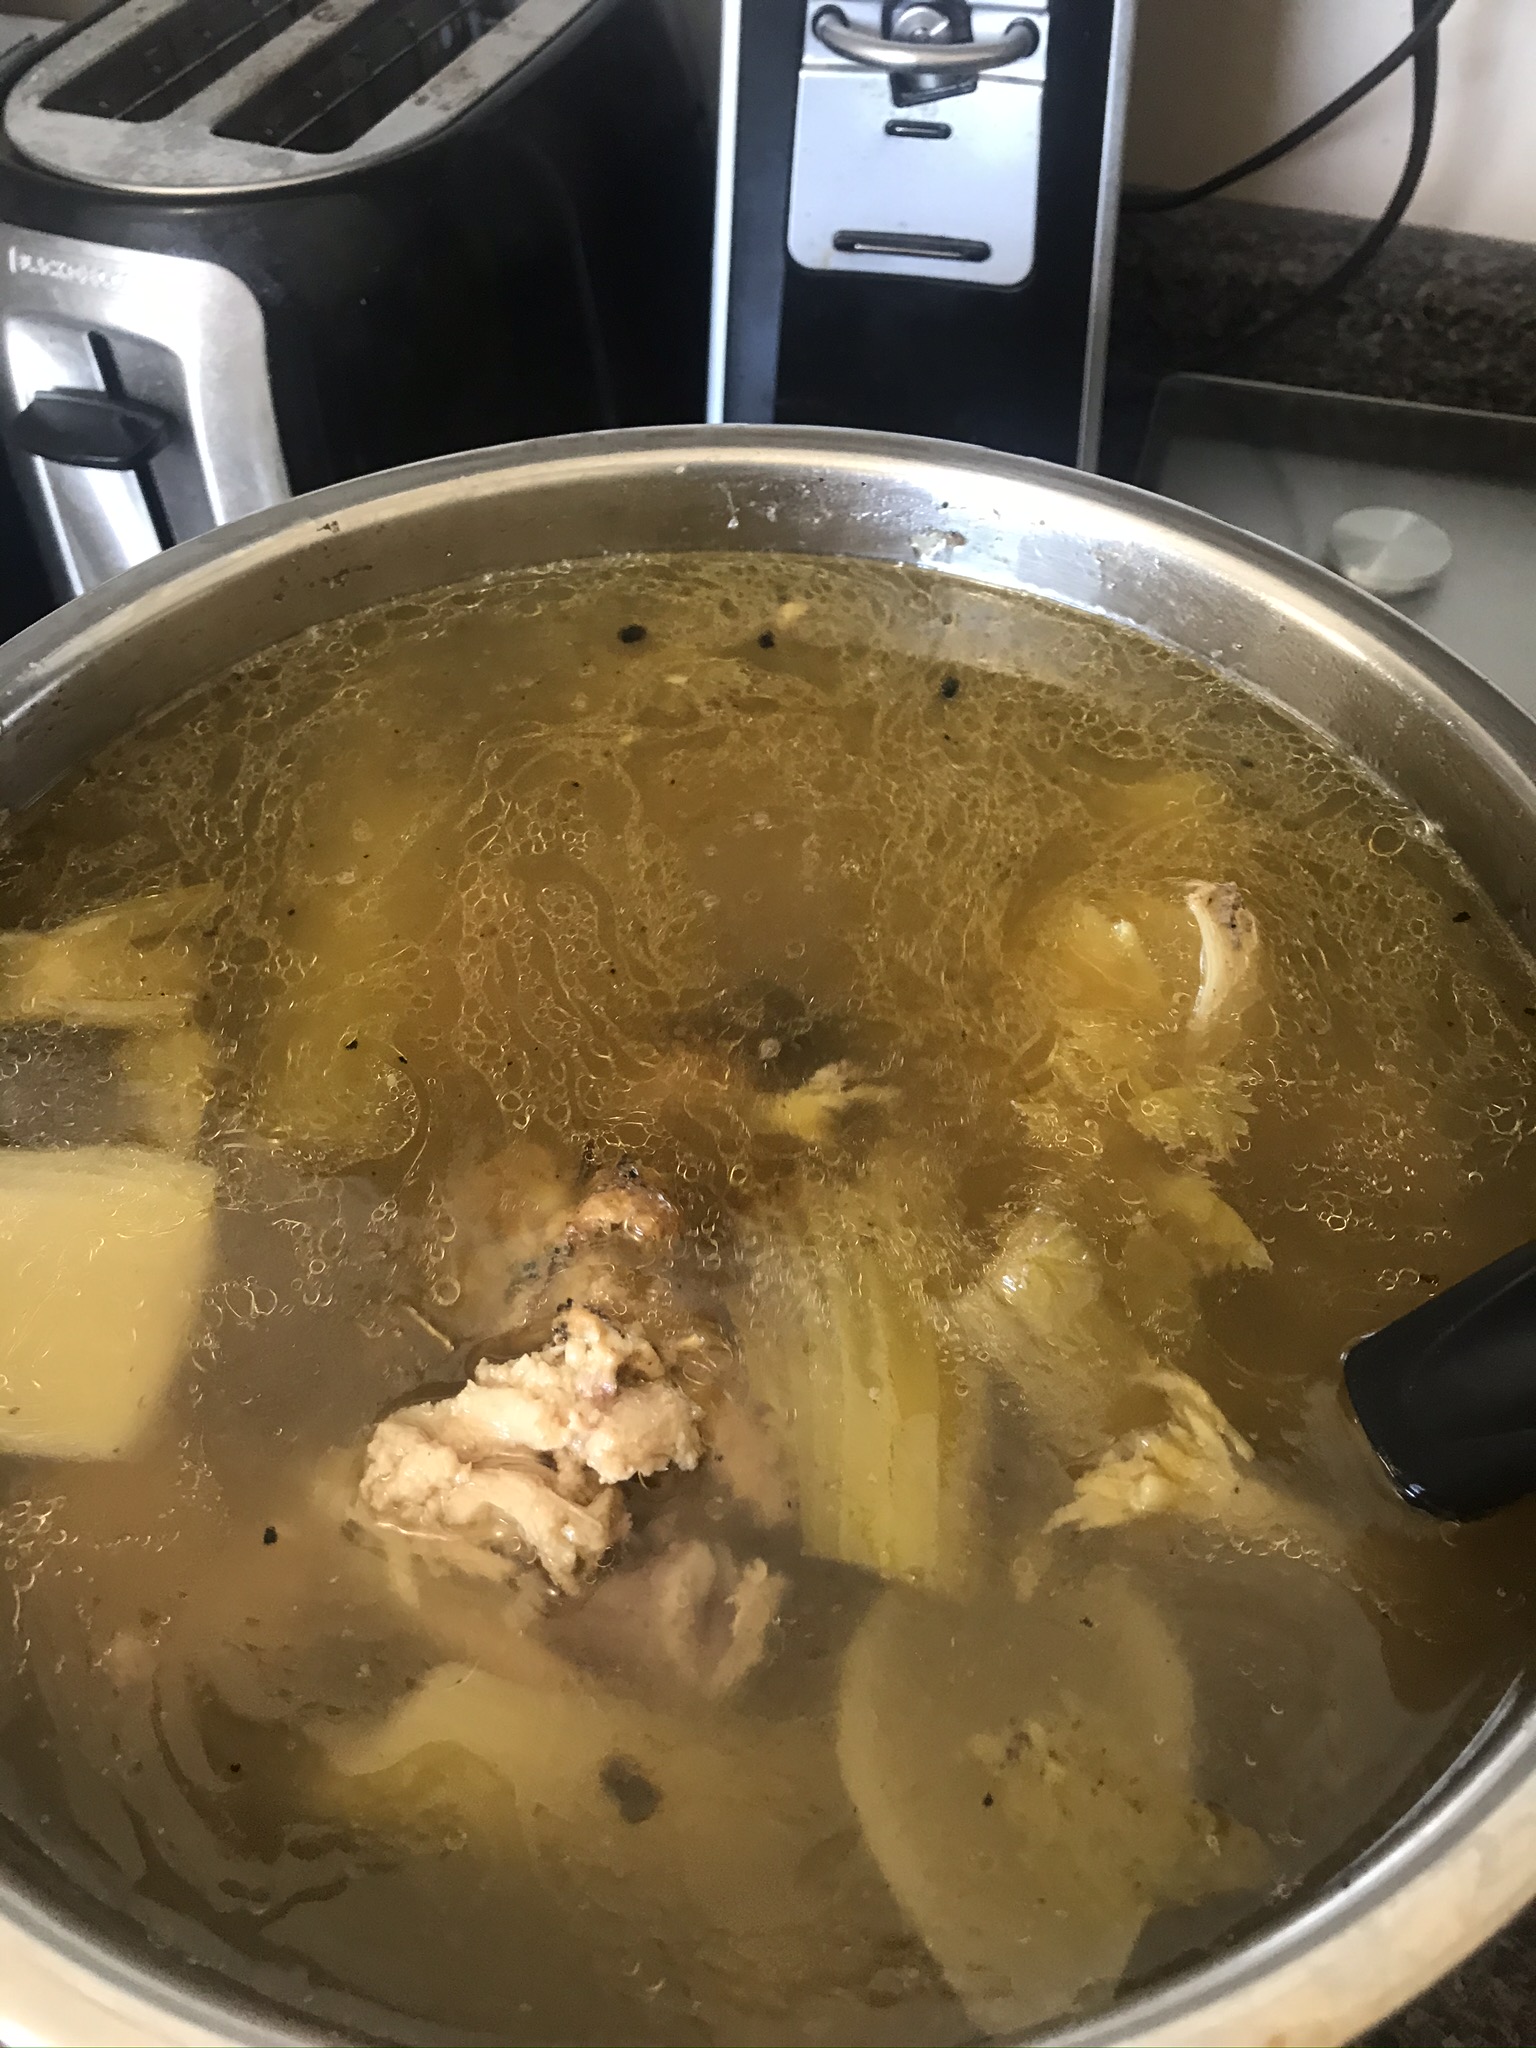

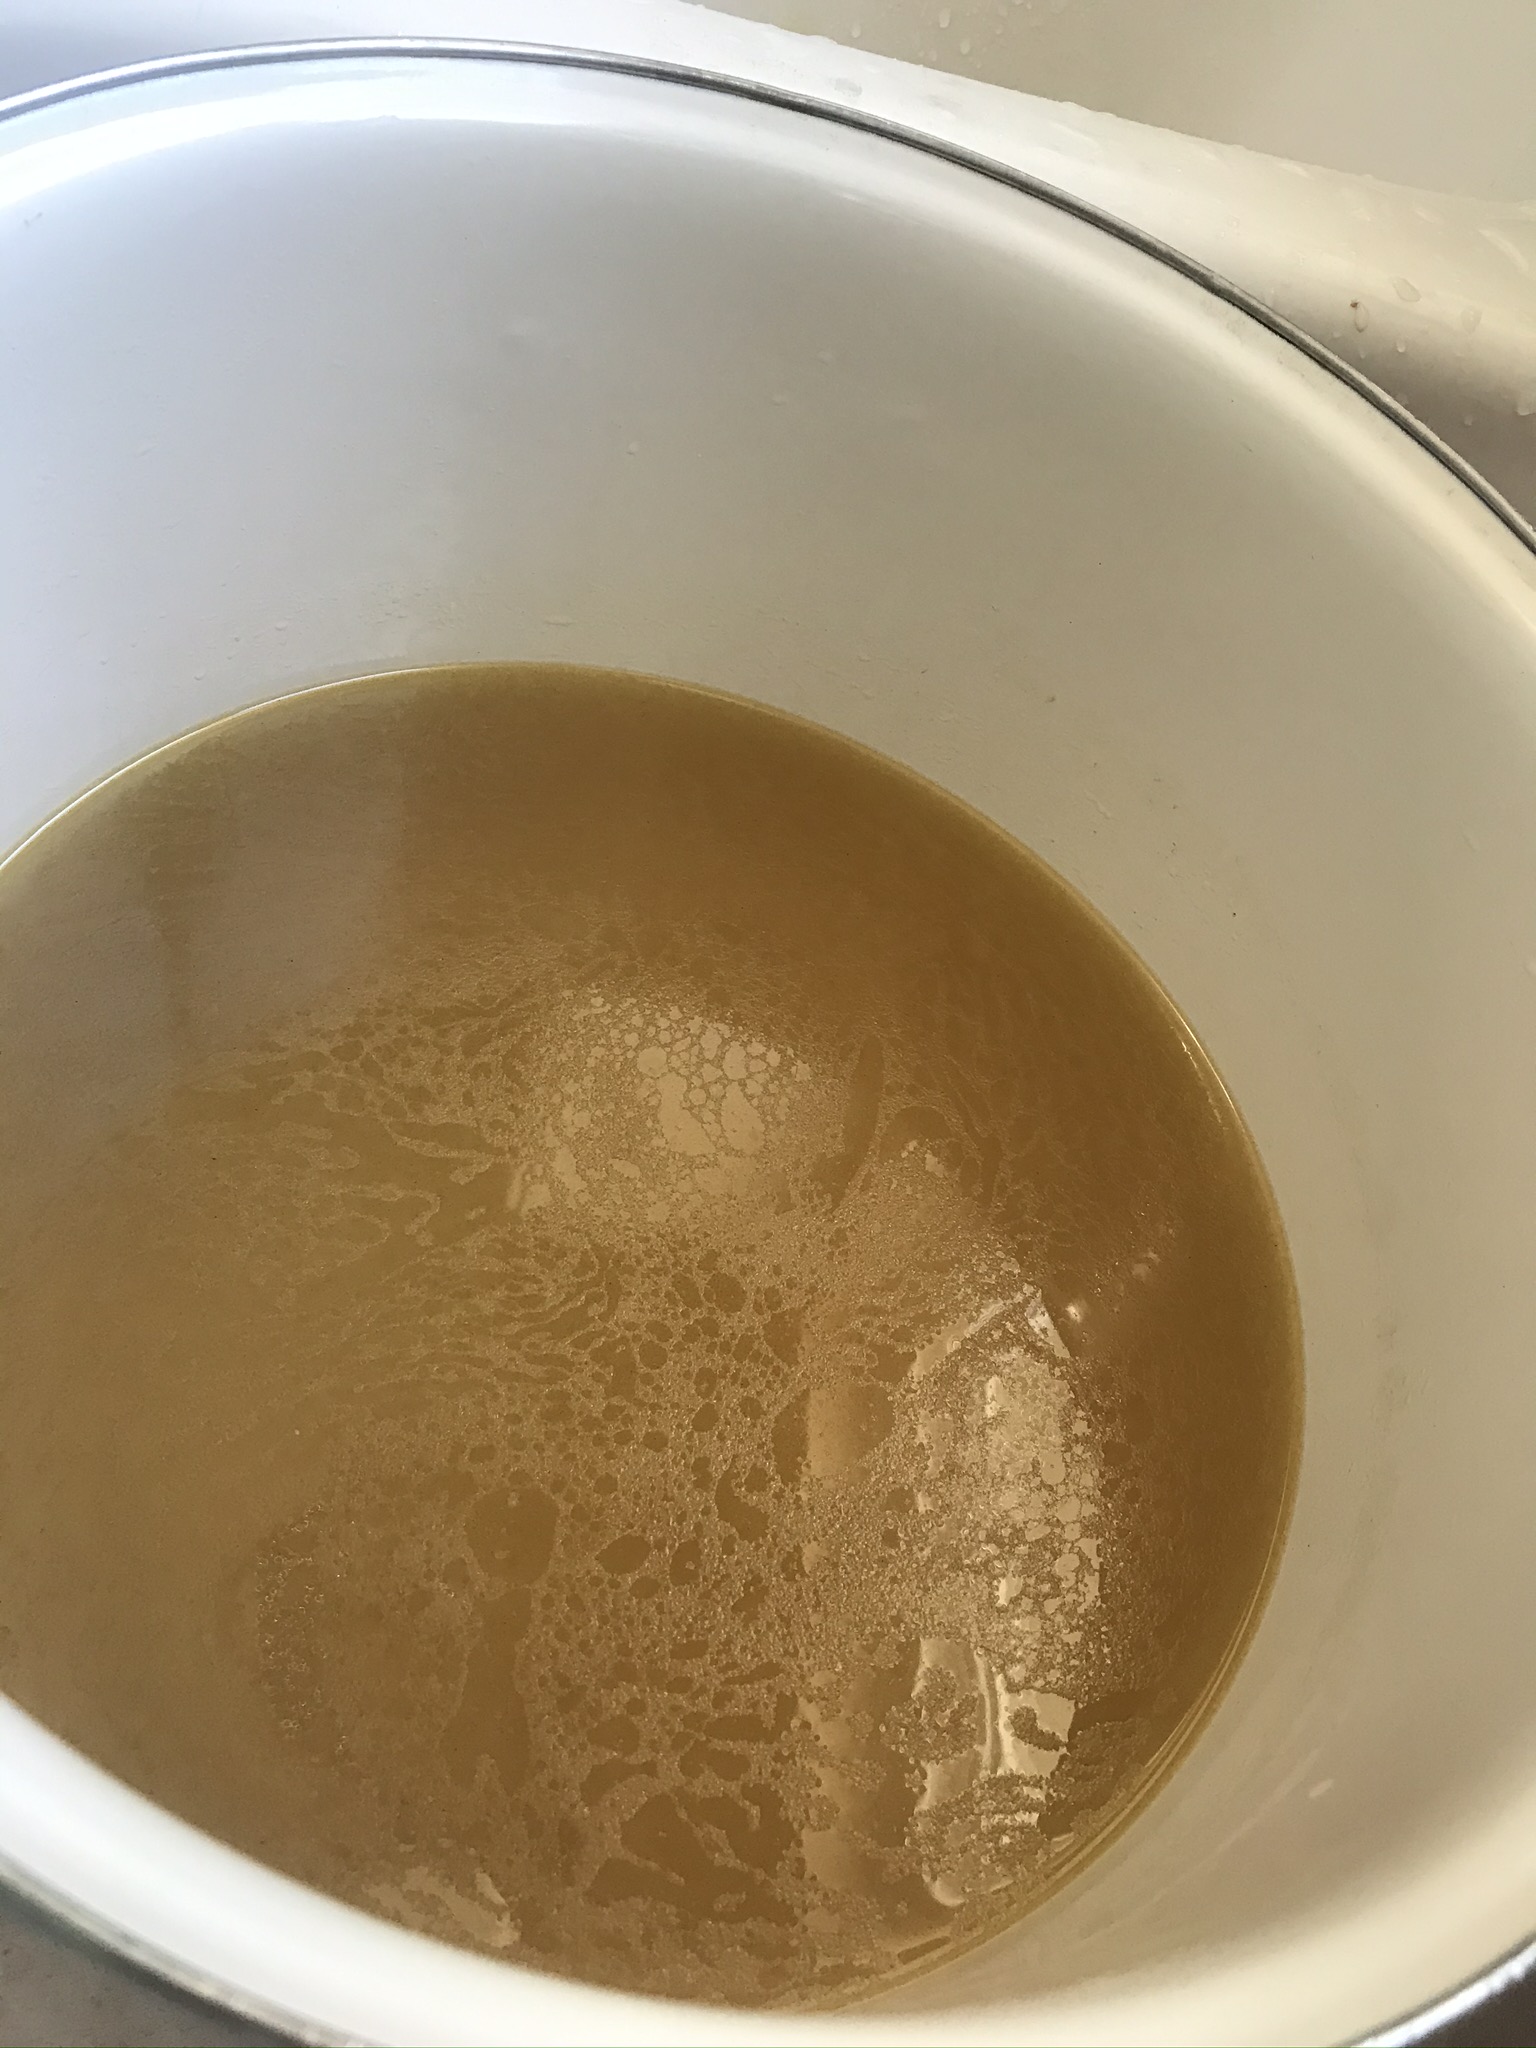
3. Take all of those scraps and place them back into your cooking pot, or pressure cooker. This time, you’ll want to add about a half cup of vinegar. This won’t affect the taste of your broth…what it does is help with drawing nutrients from the bones and helping to break them down. I use apple cider vinegar, just for the aroma during cooking…but any vinegar will do!

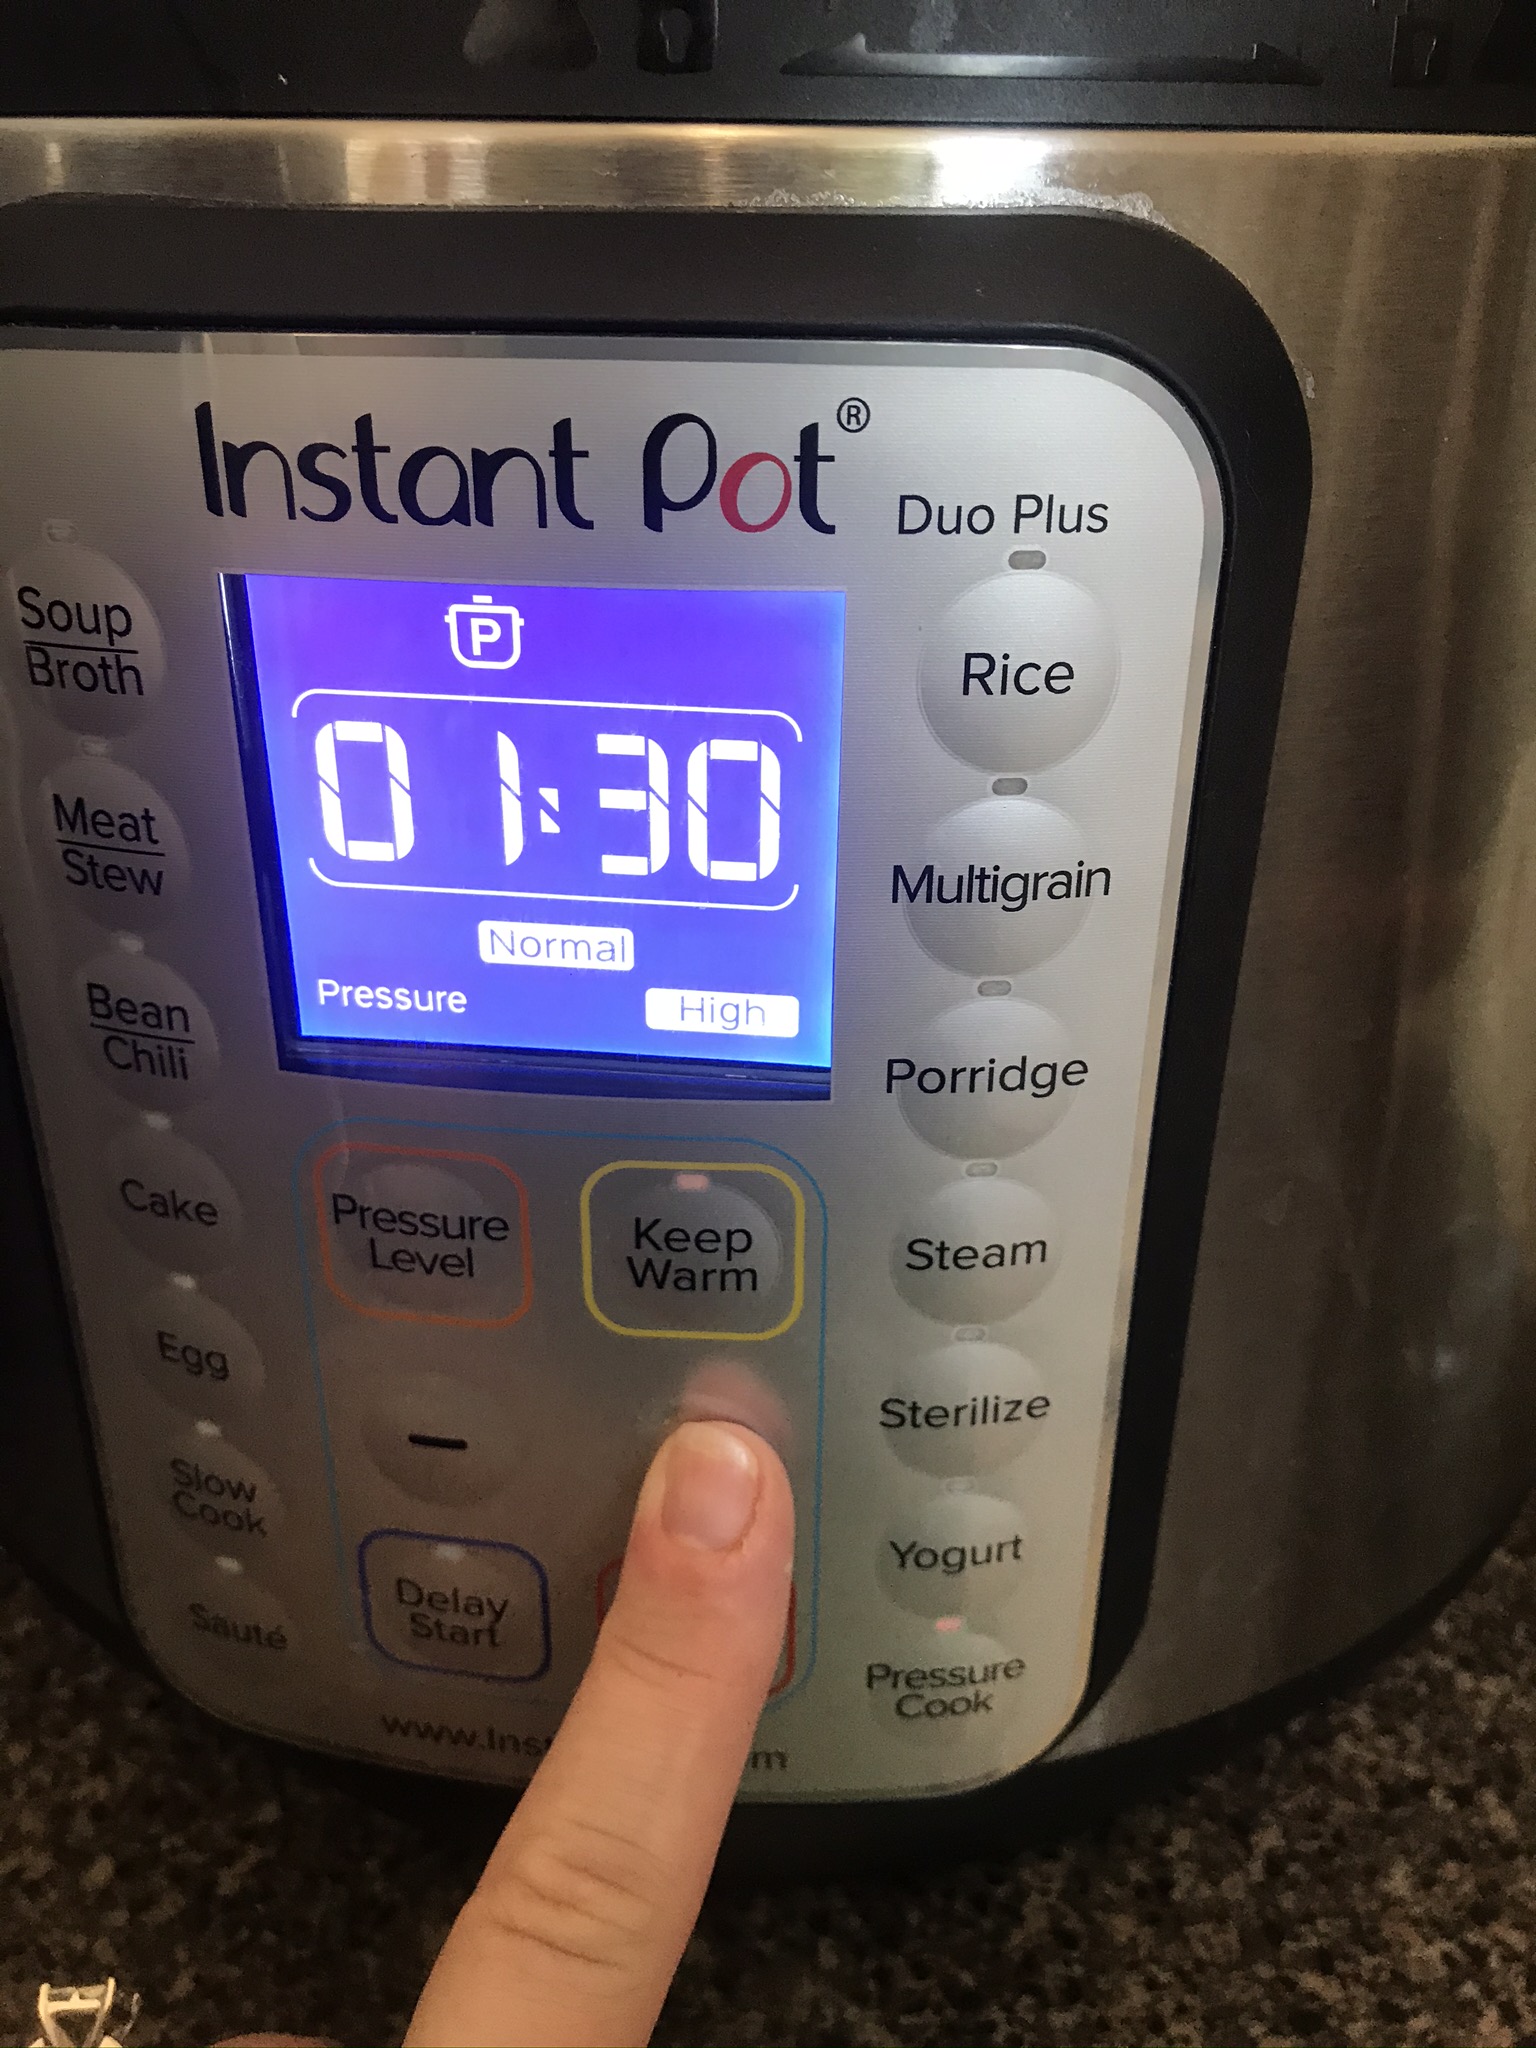
Once again you will fill the pot with water (your preference, either to the fill line, or to the top!).
4. Now you will pressure cook this batch for 90 minutes. In my own words “cook the heck out of it!!” LOL! You want these bones to break down as much as possible. If I cook for this amount of time…and then the bones are completely broken down….I even put it on for another 30 minutes, or until they’re falling apart. You’ll know when the bones have broken down by pinching one in your fingers. If it crumbles apart with barely any effort….they’re done!!!
5. Again, you’ll strain this into a large pot…this time you can toss (or compost) the scraps. Your finished broth for this second batch will be lighter in color.

6. Again, this is when you will (if you choose) pour into hot jars and pressure can.
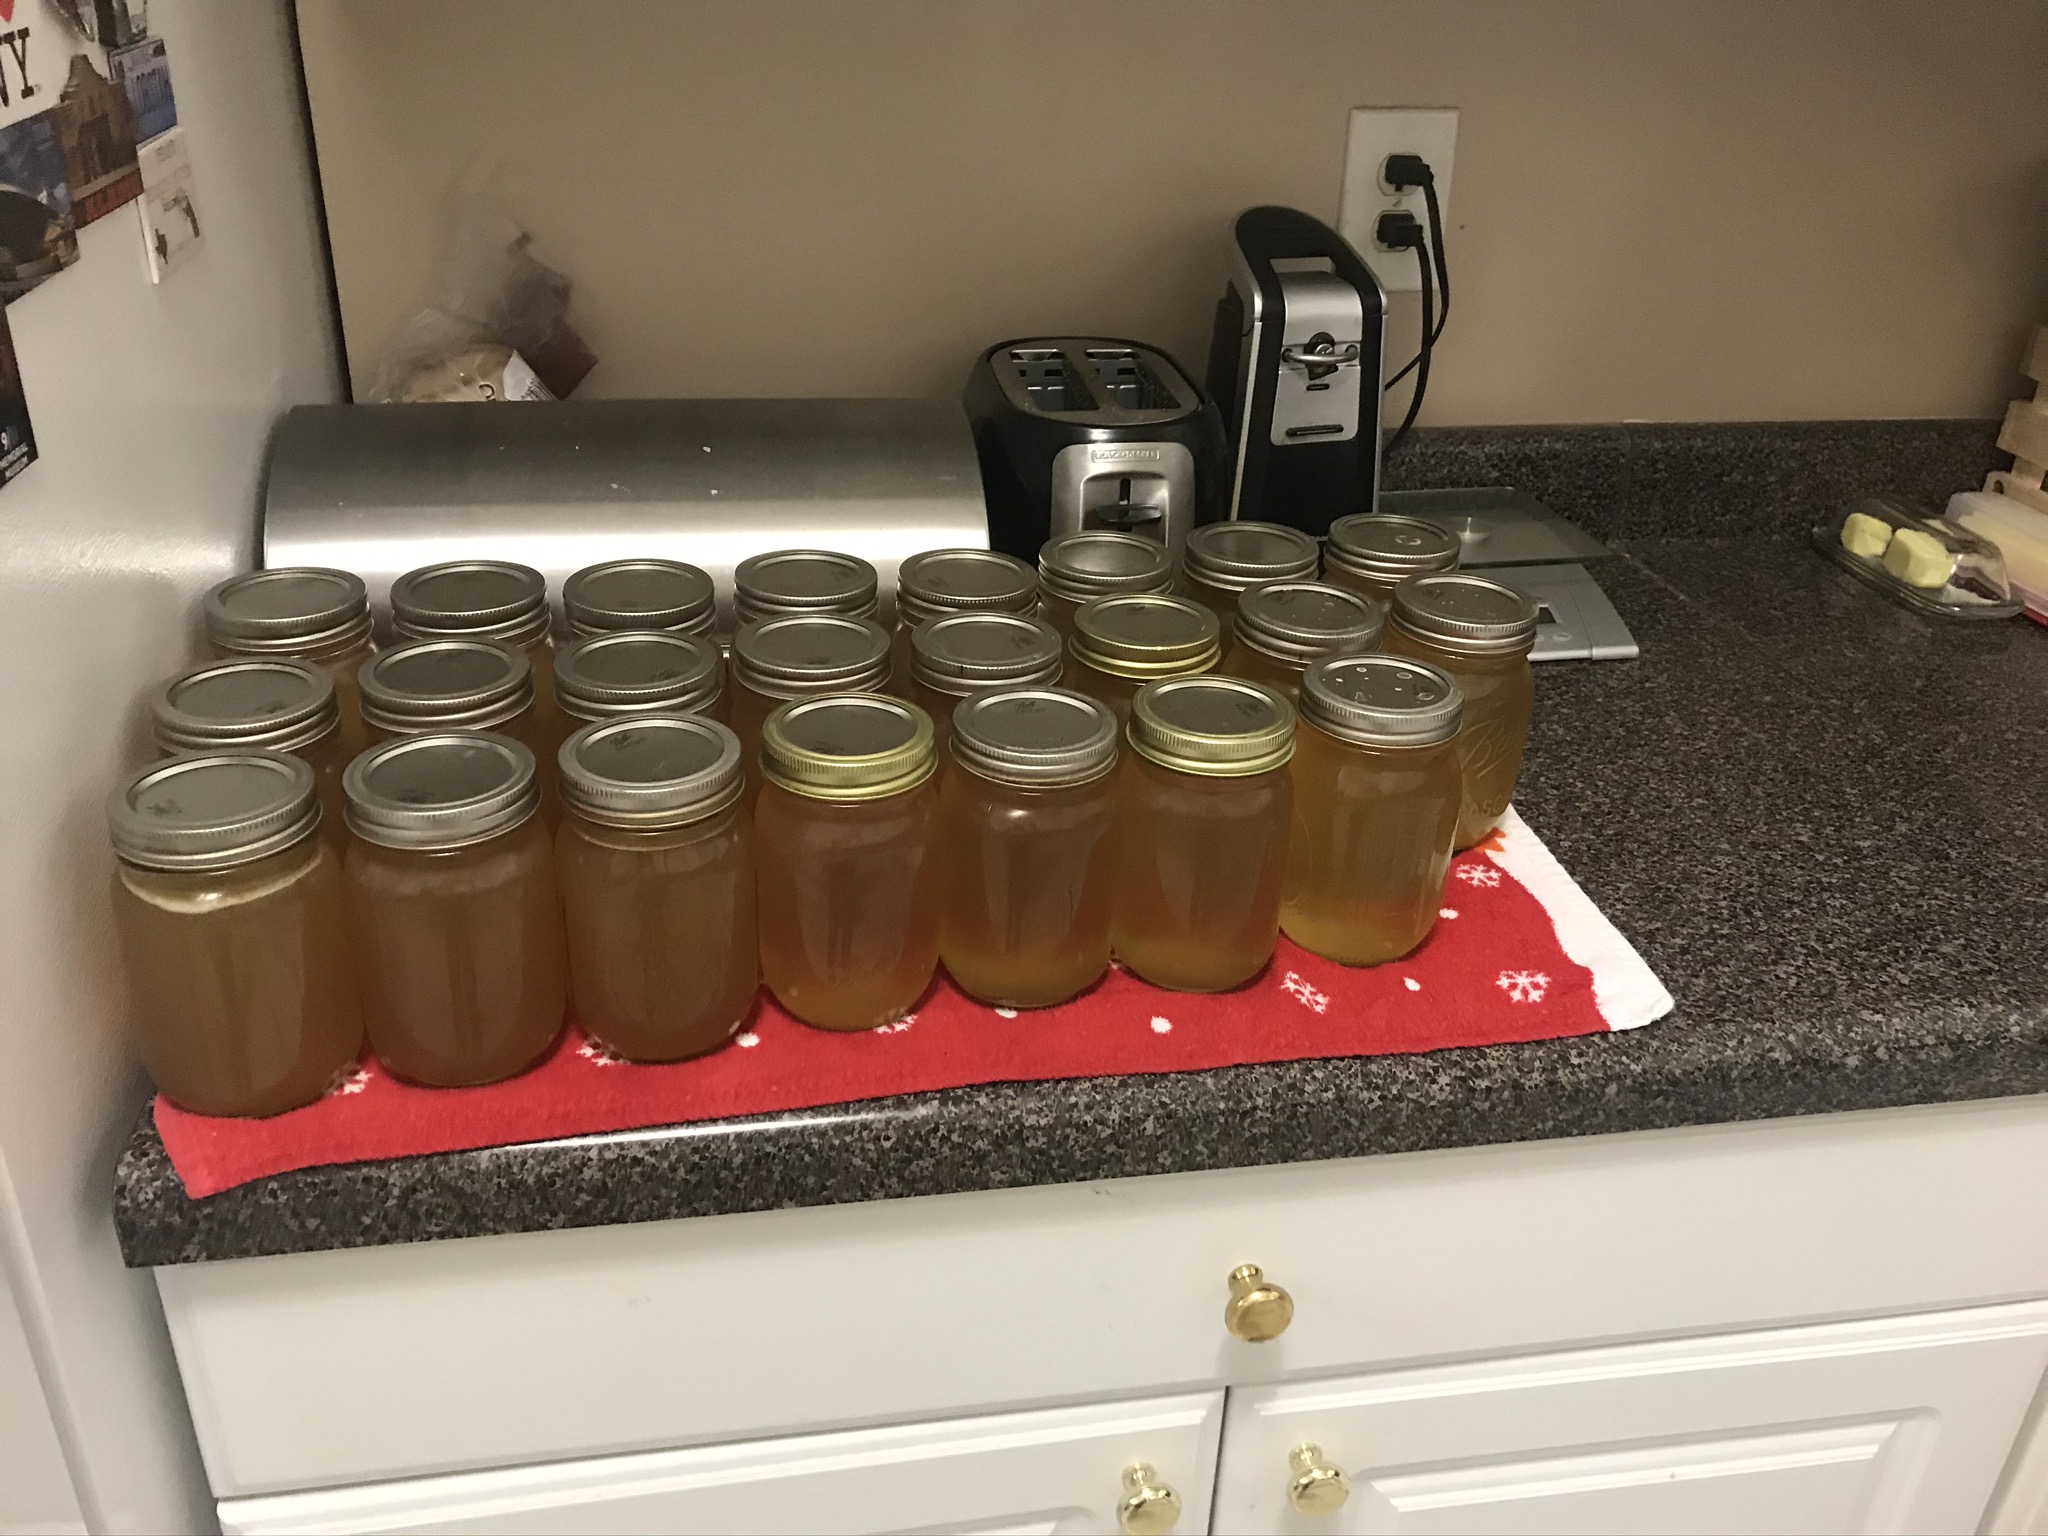
**If you choose not to can your broth…it can still be stored and saved in airtight containers. This has a one month shelf life in the refrigerator. Or a 6 month shelf life in the freezer!!
 Oily Little Life